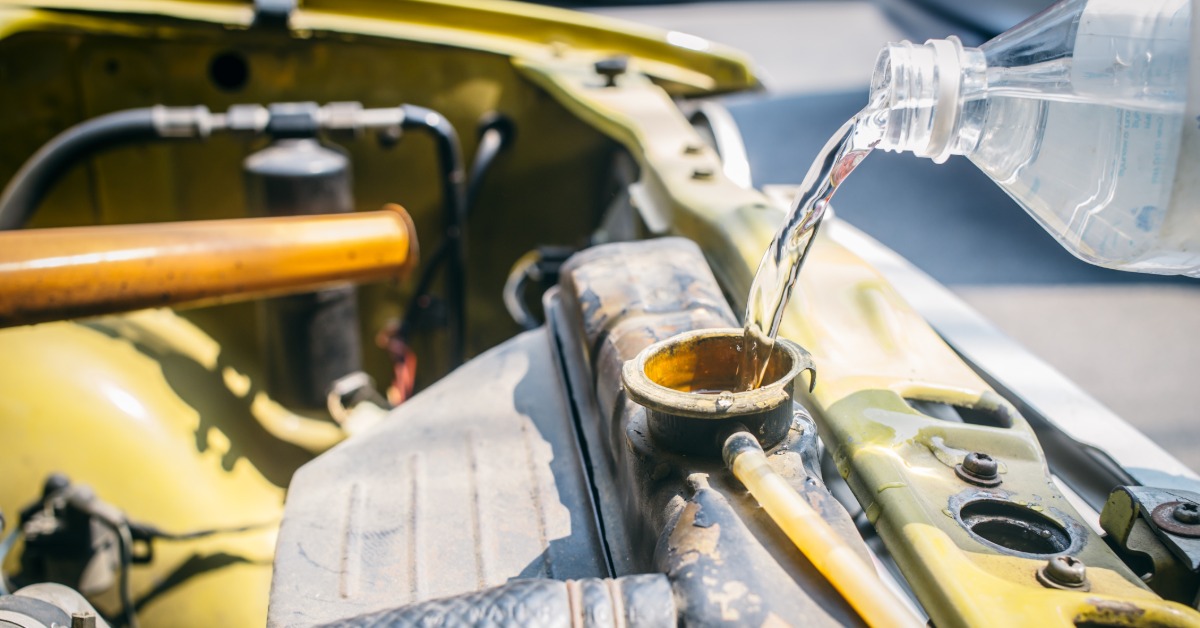
Classic Corvettes reward careful upkeep, especially when engine temperatures start creeping up beyond where they should be. Older cooling parts can lose efficiency over time, and small issues can compound into bigger heat problems during traffic, warm weather, or longer weekend drives.
If you want to improve Corvette engine cooling systems without overbuying parts, start with the basics before replacing major components. A clean coolant path, strong airflow, and properly matched parts can help your classic run cooler and protect the engine you’ve worked hard to preserve.
Start With a Full Cooling System Inspection
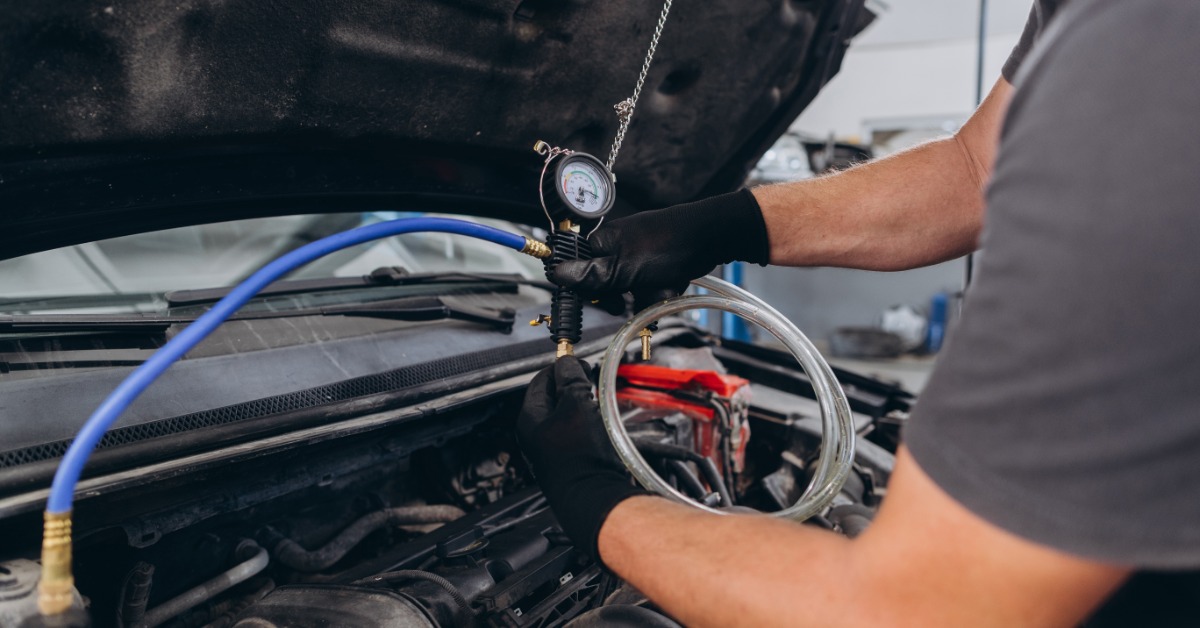
A Corvette’s cooling system depends on many parts; a defect in one can affect the whole system. Inspect the radiator, hoses, clamps, belts, thermostat, water pump, fan, shroud, and coolant. Look for stains, crust, soft hoses, loose clamps, or pulley play before upgrades.
Also, check the radiator cap; a weak cap can reduce system pressure, increasing the risk of boil-over. Many owners overlook this simple part, but it plays a crucial role in heat management. Additionally, ensure the temperature gauge reads accurately.
A faulty sensor or aging gauge can misrepresent engine temperature, leading you to chase phantom problems that are misreadings in the dash, not issues in the engine compartment.
Flush Old Coolant and Clear Buildup
Old coolant can carry rust, scale, and sediment through the system. That buildup can accumulate in the radiator, engine passages, and heater core. When coolant can’t flow freely, heat transfer drops, and the engine may run warmer.
Drain the old coolant and inspect the fluid. Brown, cloudy, or gritty fluid indicates contamination. A thorough flush can help restore flow, especially for cars that sat for years or changed owners without clear service records.
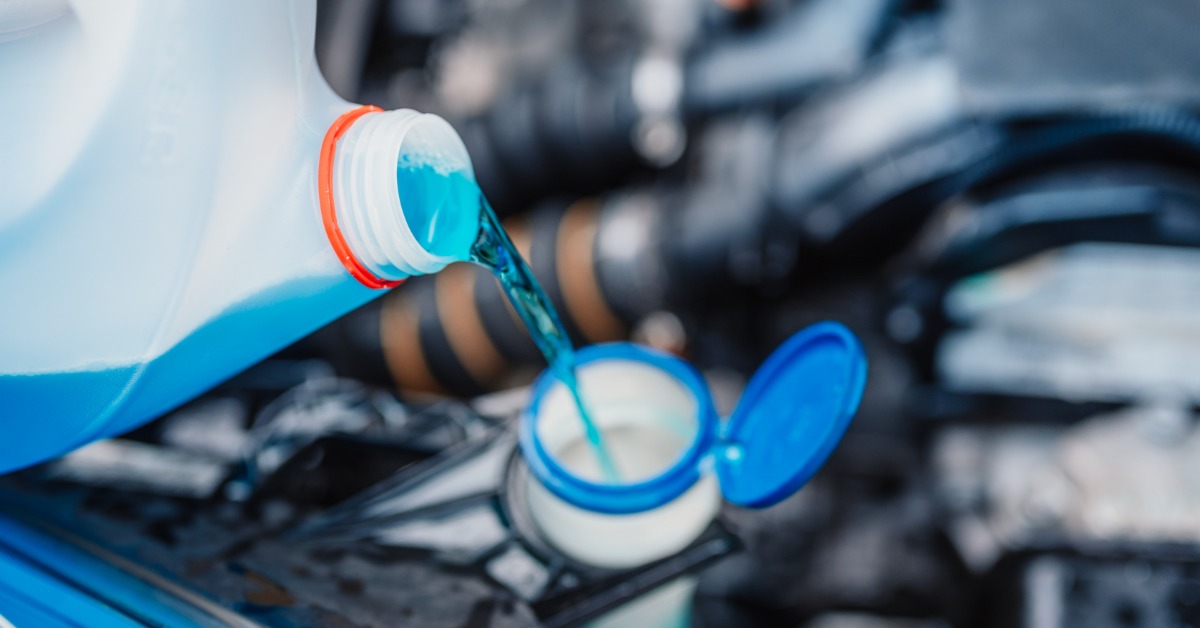
Use the correct coolant mixture for your climate and driving habits. Many owners use a 50/50 mix of coolant and distilled water, but always follow the product directions and match the car’s needs. Distilled water helps reduce mineral deposits inside the system.
Choose the Right Radiator for Your Corvette
The radiator handles heat exchange. If it has corrosion, clogged tubes, damaged fins, or leaks, repair may be useless. A quality replacement restores cooling and reduces engine stress.
Classic owners choose between copper-brass and aluminum radiators. Copper-brass suits restoration; aluminum offers better heat transfer and lighter weight. The choice depends on model year, originality, engine, and driving habits.
Fit matters as much as material. A radiator that doesn’t sit correctly can create airflow gaps or hose alignment problems. When sourcing 1961 Corvette parts, match the radiator, hoses, thermostat, and related hardware to the car’s year and engine setup so fitment doesn’t fight performance.
Improve Airflow Through the Radiator
Coolant can’t shed heat if air can’t pass through the radiator core. Dirt, bent fins, missing seals, and poor fan position restrict airflow. Road debris and bugs can collect between the grille and radiator, especially on cars driven in summer.
Clean fins gently from the back when possible, avoiding high pressure that can fold fins and block air. Straighten damaged fins carefully, as open spacing aids airflow. Check radiator seals and filler panels, as missing seals can cause overheating at low speeds and in stop-and-go traffic.
Make Sure the Fan and Shroud Work Together
The fan and shroud help pull air through the radiator, especially when the car sits in traffic. A missing or damaged shroud can hurt low-speed cooling even when the radiator and water pump work well. The fan should sit in the proper position inside the shroud, with safe clearance around the blades.
Mechanical fans, clutch fans, and electric fans can all work well when matched correctly. A worn fan clutch may slip too much and move less air at low speeds. Bent fan blades, incorrect spacers, or poor alignment can also reduce performance.
Electric fan conversions can help some modified cars, but they need proper wiring, relay support, and temperature control. Don’t treat an electric fan as a shortcut around a clogged radiator or weak water pump. Fix the cause first, and use upgrades to support a sound system.
Cooling Parts Worth Checking First
Use this quick list before replacing major components:
- Radiator cap pressure rating and seal condition
- Upper and lower radiator hoses
- Thermostat temperature rating and operation
- Fan clutch or electric fan controls
- Water pump pulley alignment
- Radiator fins, seals, and shroud placement
- Coolant color, age, and mixture
A simple inspection can save money and prevent mismatched repairs.
Match the Thermostat to the Engine
The thermostat controls when coolant starts moving through the radiator. A stuck thermostat can cause overheating, slow warmup, or unstable temperature readings. Even a newer thermostat can create trouble if it doesn’t match the engine’s needs.
Don’t remove the thermostat as a cooling fix. Without it, coolant may move too quickly or fail to follow the designed flow path. That can create uneven cooling and driveability issues.
Choose a quality thermostat with the correct rating for your setup. During installation, confirm the orientation and use the right gasket or seal. Small mistakes here can lead to leaks or temperature swings.
Check the Water Pump and Belt Drive
The water pump circulates coolant through the engine and radiator. Over time, seals can leak, bearings wear, and impellers corrode. Coolant leaks from the weep hole, pulley wobble, or grinding sound need attention. Belt condition is also important; a glazed, loose, or cracked belt can slip, reducing pump speed.
Check pulley alignment and tension, especially after replacing parts. Some engines need a higher-flow pump, particularly with added heat modifications. Match the pump to the pulley setup, radiator capacity, and driving style; unrelated upgrades can cause issues if the system can’t support them.
Reduce Heat From Nearby Components
Heat from the engine can impair cooling. Exhaust, tight spaces, and missing shields raise temps around hoses, wiring, and the radiator. Heat soak after shutdown worsens restarts. Inspect heat shields and hose routing near exhaust. Keep hoses away from hot surfaces and replace any that are brittle, swollen, or oil-soaked.
A clean engine bay helps spot leaks early. Tuning, like ignition timing and fuel mixture, also affects engine temperature. If the cooling system is fine but heat persists, check beyond the radiator.
Test Changes Under Real Driving Conditions
After repairs or upgrades, test the car under original conditions to observe temperature behavior at idle, while cruising, in traffic, and at shutdown. A short drive may not reveal heat patterns of a longer, warm-day run. Seek steady improvement rather than the lowest gauge reading. Classic engines require stable operating temperatures, and running too cool can cause issues.
Focus on consistency over dramatic drops. If temperatures rise, revisit diagnosis: check airflow, coolant flow, pressure, timing, mixture, and gauge accuracy. Cooling problems can overlap with tuning issues, so examine multiple areas.
Keep Your Corvette Cooler With the Right Parts
When you’re deciding how to improve Corvette engine cooling systems, start with inspection, cleaning, correct fitment, and year-aware parts choices. A strong system doesn’t rely on one flashy upgrade. It depends on clean coolant, steady flow, controlled pressure, guided airflow, and parts that match the car.
Volunteer Vette Inc. carries classic Corvette engine, cooling, and restoration parts for owners who want the right fit the first time. Browse year-specific components and keep your next repair moving with confidence.
Speak Your Mind