
A vintage Corvette restoration rewards patience, accuracy, and respect for the car’s original character. Every model year has details that matter, especially when you work on a classic Corvette with unique trim, wiring, interior parts, or drivetrain components.
Many owners start with excitement, yet small shortcuts can cost extra time and money as the project progresses. As you map out the work, focus on accuracy first and speed second. Careful choices now help you avoid rework later.
Here are eight mistakes to avoid when restoring your vintage Corvette that deserve attention before you order parts or pick up a wrench.
1. Starting Without a Clear Restoration Plan
Jumping into a restoration without a plan can turn a fun project into a long string of surprises. Before you remove parts, decide how far you want to take the car. Some owners want a factory-style restoration, while others want a clean driver that keeps its vintage feel.
Write down the main goal for the car. Include the body, interior, drivetrain, paint, trim, and electrical system. Once you have that plan, you can set a parts budget that matches the real scope of the job.
A plan also helps you avoid buying parts in the wrong order. For example, exterior trim may look like an early win, yet damaged wiring or worn suspension parts may need attention first. When the project follows a clear sequence, you spend your time with purpose.
2. Ignoring Model-Year Differences
Corvettes have changed a lot over the years. A part that looks close may still fit poorly if Chevrolet used a different design for that model year. Trim, emblems, brackets, lenses, console parts, and weatherstripping all need careful matching.
Model-year accuracy matters even more with C1, C2, and C3 Corvettes. A small mismatch can affect how panels align or how interior pieces sit. Once paint and upholstery are part of the project, those mistakes become harder to fix.
Use the year, body style, engine setup, and trim package before you order. Owners restoring a 1970 model, for instance, should confirm fitment when shopping for 1970 Corvette parts because mid-generation details can vary. Accurate parts save time and protect the finished look.
3. Buying Parts Before Inspecting the Whole Car
A vintage Corvette can hide issues beneath the surface. Body panels may look solid, while brackets, mounts, wiring, seals, or interior supports need work. A full inspection helps you separate cosmetic needs from mechanical repairs.
Start with a careful walkaround. Check panel gaps, body seams, frame areas, suspension mounts, and signs of prior repairs. Next, review the interior, gauges, wiring, glass, weatherstripping, and hardware.
A simple checklist can keep the inspection organized:
- Body condition and panel alignment
- Frame condition and mounting points
- Interior wear and missing hardware
- Wiring, lights, and gauge function
- Engine, exhaust, and cooling components
- Weatherstripping, seals, and glass fit
After the inspection, group parts by project phase. That habit prevents random purchases and helps you order parts that support the next step.

4. Overlooking Wiring and Electrical Parts
Electrical work rarely gets the same attention as paint or chrome, yet old wiring can cause hard-start issues, dim lights, weak gauges, and safety concerns. Corvette electrical systems also show age-related wear that may be hidden behind the dash or under the hood.
Check the harnesses before you reinstall interior pieces. Look for brittle insulation, loose connectors, corrosion, and poor prior repairs. A clean body and fresh carpet will not fix an old electrical issue buried behind trim panels.
Grounds matter as much as wires. Classic Corvettes need strong connections for lights, gauges, and accessories. Clean contact points and replace worn parts before the car goes back together.
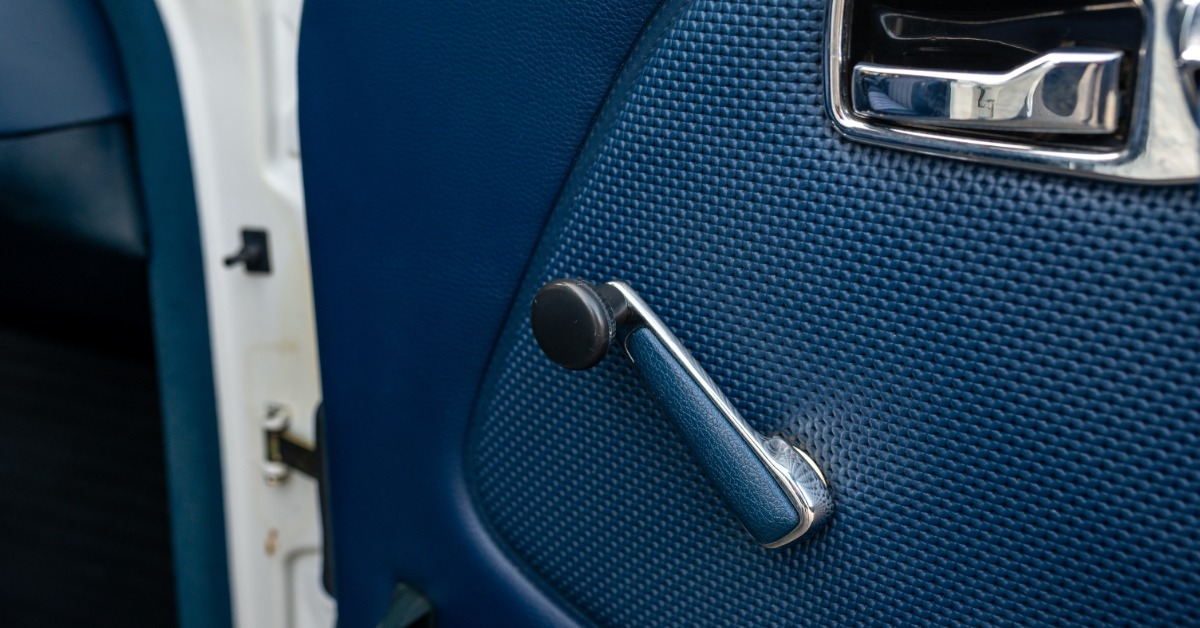
5. Treating Weatherstripping as a Finishing Touch
Weatherstripping does more than keep water out. It affects door fit, window alignment, wind noise, and overall cabin comfort. Poor seals can make a finished Corvette feel unfinished.
Install weatherstripping with patience. Test-fit doors, windows, and removable roof panels before final adjustment. Some seals need time to settle, so avoid forcing panels into place.
Cheap or incorrect seals may create gaps, rubbing, or closing problems. Quality reproduction parts help the car feel tighter and closer to factory fit. Since Volunteer Vette carries restoration parts for classic Corvette owners, it gives restorers a useful place to source parts that match the job.
6. Rushing Paint and Body Preparation
Paint draws the eye first, yet the prep work underneath controls the final result. Vintage Corvette bodies need careful attention because fiberglass repair differs from metal bodywork. Old cracks, waves, stress marks, and prior repair areas deserve close inspection.
Surface prep should come before color choice. Fix panel issues, test-fit trim, and confirm body gaps before paint. A sharp paint job can still disappoint if trim holes, bumper fit, or panel alignment went unchecked.
Take photos before disassembly and label hardware as you go. That habit helps during reassembly, especially around trim and body-mounted components. Good prep protects the car’s appearance and reduces the risk of paint damage during final assembly.
7. Forgetting Interior Fit and Finish
Interior work affects how the car feels every time someone opens the door. Seats, carpet, door panels, consoles, gauges, and trim need proper fit. Small gaps or loose pieces can make the restoration feel rushed.
Start with the structure beneath the visible parts. Seat tracks, brackets, fasteners, wiring, and insulation all play a role. Once those items line up, the visible pieces sit better.
Color matching matters as well. Vintage Corvette interiors used specific tones and textures, so compare parts before installation. Natural light helps reveal shade differences that garage lighting may hide.
8. Choosing Low-Quality Parts to Save Money
Budget matters during any restoration, yet low-quality parts can create problems that cost more later. Poor fit may force extra labor, and weak materials may wear faster than expected. Vintage Corvettes deserve parts that respect the original design.
Quality reproduction parts help preserve performance, comfort, and appearance. They also support smoother installation because they more closely match the car’s needs. When possible, use suppliers that focus on Corvette restoration rather than generic replacement parts.
This point matters across every phase of the project. A cheap seal, bracket, switch, or trim piece can delay progress. Better parts help keep the restoration moving.
Restore Your Corvette With Care
The best restorations come from careful planning, accurate parts, and steady work. When you understand the common mistakes to avoid when restoring your vintage Corvette, you protect the car’s character and reduce costly rework.
Volunteer Vette supports Corvette owners with parts that help keep classic models in strong condition, especially throughout the 1953-1982 range. With the right plan and the right parts, your vintage Corvette can look, feel, and drive the way it should.
Speak Your Mind